Showing posts with label Renovations. Show all posts

Monday, December 3, 2012

Projects 2012 - Part 3 - Picture Ledges

I want to put pictures of my beautiful family all over the house, and with a 13m hallway I have enough walls to hang a LOT of frames! But I did not want to be banging nails into all the walls and try to line up and space them and all the other schlep that comes with hanging pictures.

So, I decided to make easy, inexpensive picture ledges to place my frames on. This way I can change around frames as I like, and I don't have a million nail holes to worry about ;-)

Here is what I started with: some lengths of pine, some beading, some glue and some small tacks.


First, I measured and cut the lengths to size


Then I glued the beading the the front


Clamp until dry


I used small brass tacks to secure the back piece after gluing


The raw ledges finished


Next, I primed them, then painted them with green, then washed with a bit of blue over


And here they are up on the wall with our frames on! I plan to make some more soon!


xxx

Monday, November 12, 2012

Projects 2012 - Part 2 - The Purple Princess

I bought this old ratty chair on Bid or Buy for R250, and it has been standing in the studio waiting for me to do something to it since we moved in Feb.

Then my dad helped me build some bookshelves for a little nook in the house, and immediately I knew where that chair was going to live out its life.

I had a vision of bright, sunny yellow bookshelves housing my very big book collection, and it needed a contrasting colour to show it off to it's full potential. And the purple princess was born!

I first cleaned it up cause it was nasty dirty! Then a good sand, and gave it 2 coats of Rust-O-Leum's Heirloom White. I chose this purple velvet-ey fabric from Chamdor because I liked the colour, and the pattern and it was inexpensive enough so that if I screwed it up it would hurt too much.


So here is the before and after:


I absolutely love how it came out - SO happy that my first chair upholster was a success!


Here she is on her new home, keeping the yellow bookshelves company (those shelves are way too full, I know! When the other 4 shelves are up on the opposite wall, it will look better)


I learned a lot while doing this revamp and would like to share some tips.

1) If it is your first attempt, do not tackle your Ouma's prized riempies bank! Get your hands on something that you won't mind messing up a bit in the process of learning.

2) Don't buy the most expensive fabric - you will cry big tears if you spend big money on Hertex fabrics, just to mess it up.

3) Get the right tools - at the very least you will need a staple gun, a hammer (preferable a rubber hammer) and a pair of pliers. I cursed the whole way through hammering the studs in as my hammer was too big and I was struggling to get into the nooks and crannies.

4) It takes time.. This chair took me about 2 full days (spread over 2 weeks lol!) - and make sure you have all the tools and things you need before you start. I didn't know I was going to want to put studs on this chair, then rushed off to go buy and the shop was closed.

5) Have fun! If you are keen to attempt a project like this, have fun and enjoy the process, even if your first attempt is not perfect.


My girlie also wanted to share in the excitement of the finished purple princess!!


Mwah
xxx


Friday, November 2, 2012

Projects 2012 - Part 1

When we moved into the new house in January, it gave me the opportunity to tackle some DIY projects that I have been wanting to do for ages.

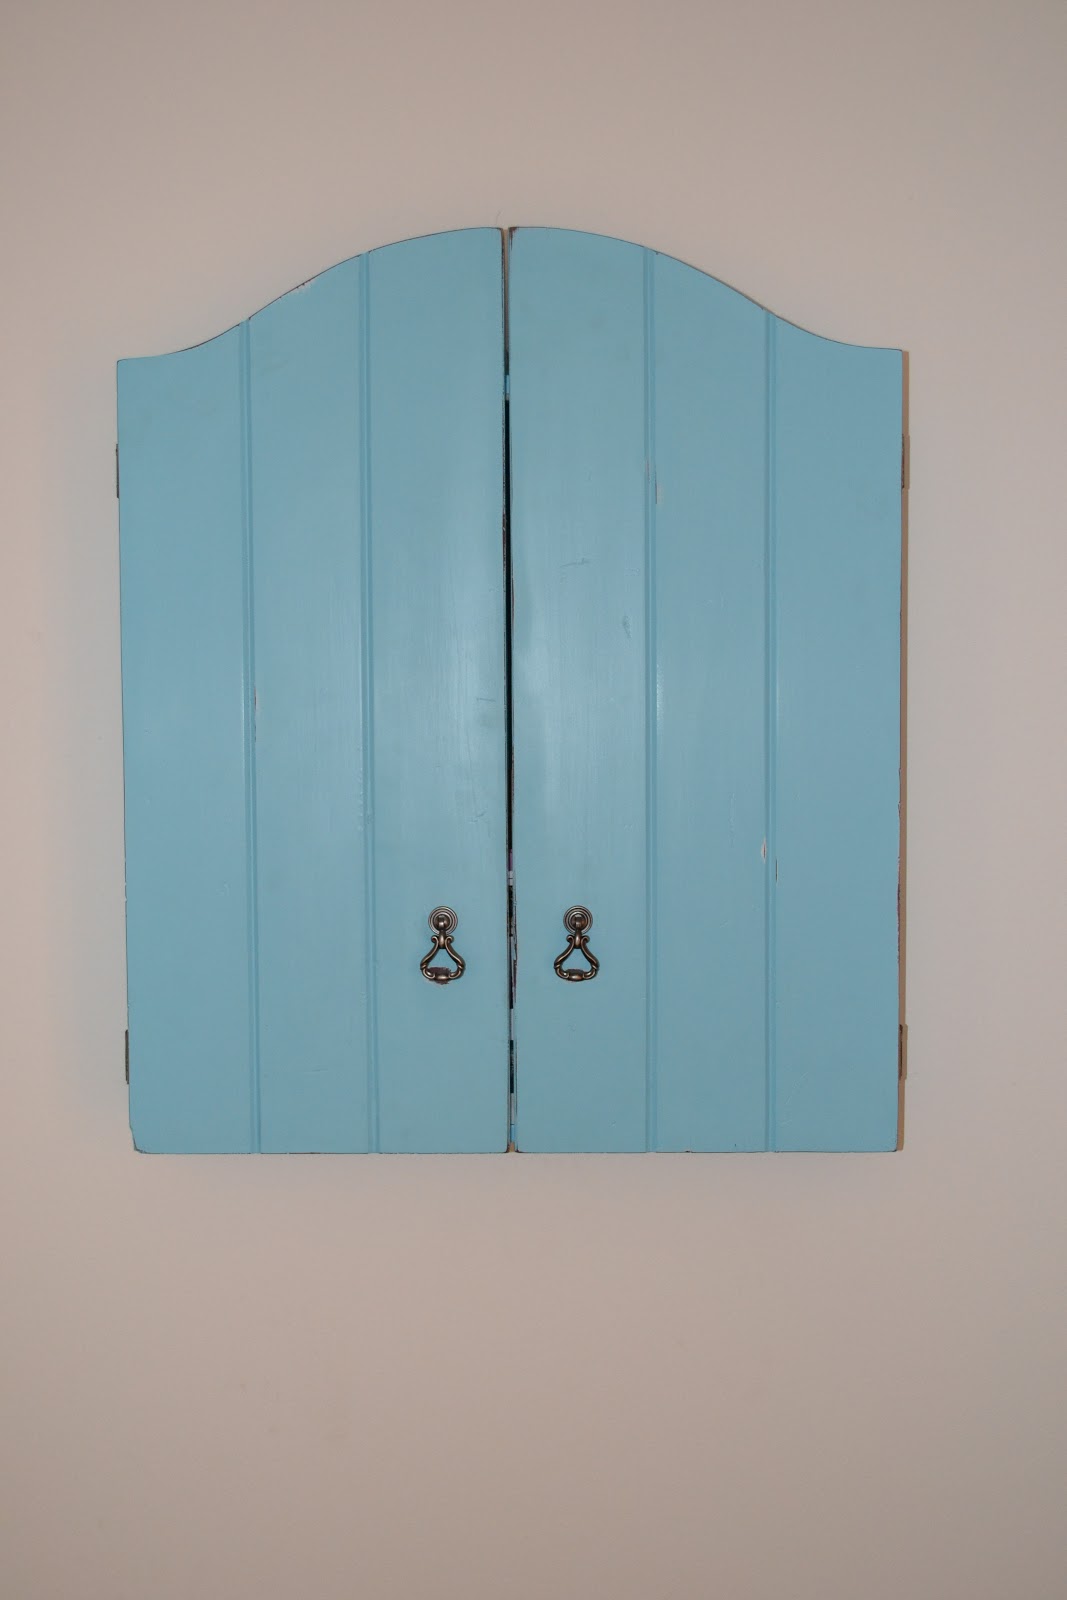
First thing I did was upcycle a old dartboard to a key cupbaord - just love this aqua blue in our entrance area. I added the little compartments in the front, and sprayed the inside doors with black board paint. (I don't have a before pic as I was too excited to get started!)


(The walls still need some colour, but we will get to that once I have done all my little projects.)


Next I tackled my first ever upholstering job, and it was super easy and fun! I am actually very proud of the outcome. And it is comfortable lol! 

I did a huge big headboard, which I covered in white faux leather with some sparkly crystal buttons.


yip, that is J's feet in the front of the shot!

The finished product

A close-up

Our bed before the headboard, redone mirrors and painted lampshades


WIth the new headboard and painted mirrors and lampshades


Front View


Again, our walls still need some colour and art, but I will get to that ;-)


Next post I will show what I've done in Imke's room!


Mwah
xxx